I am on a mission. I have some firmly held beliefs about certain knitting practices and I intend to share them with anyone who will sit still long enough to listen to my rants.
Almost all knitters want to knit better and faster (or at least more efficiently). If this is not you, feel free to skip the rest of the text and just peruse the pretty pictures of my finished Tin Can Knits Penny test knit sweater (it’s total eye-candy, I promise).
The rest of you, listen up – particularly those of you who are already carry their yarn in the left hand…aka pickers…aka Continental knitting. I am about to show you a different way to knit that could change your life (okay, the part of your life in which you knit stuff, but still…). Pickers are generally not big fans of purling. Pickers will knit stocking stitch in the round all day long with nary a whimper. However, tell them they have to knit garter or reverse stocking stitch in the round and watch their faces contort into a myriad of pained scrunches, frowns, and scowls. Case in point…
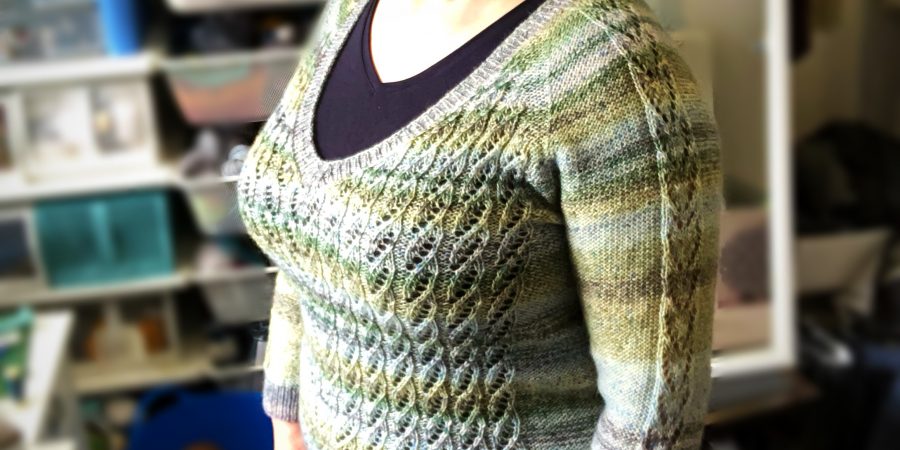
Here is the Tin Can Knits Penny test I’ve mentioned, but couldn’t show, in previous posts:
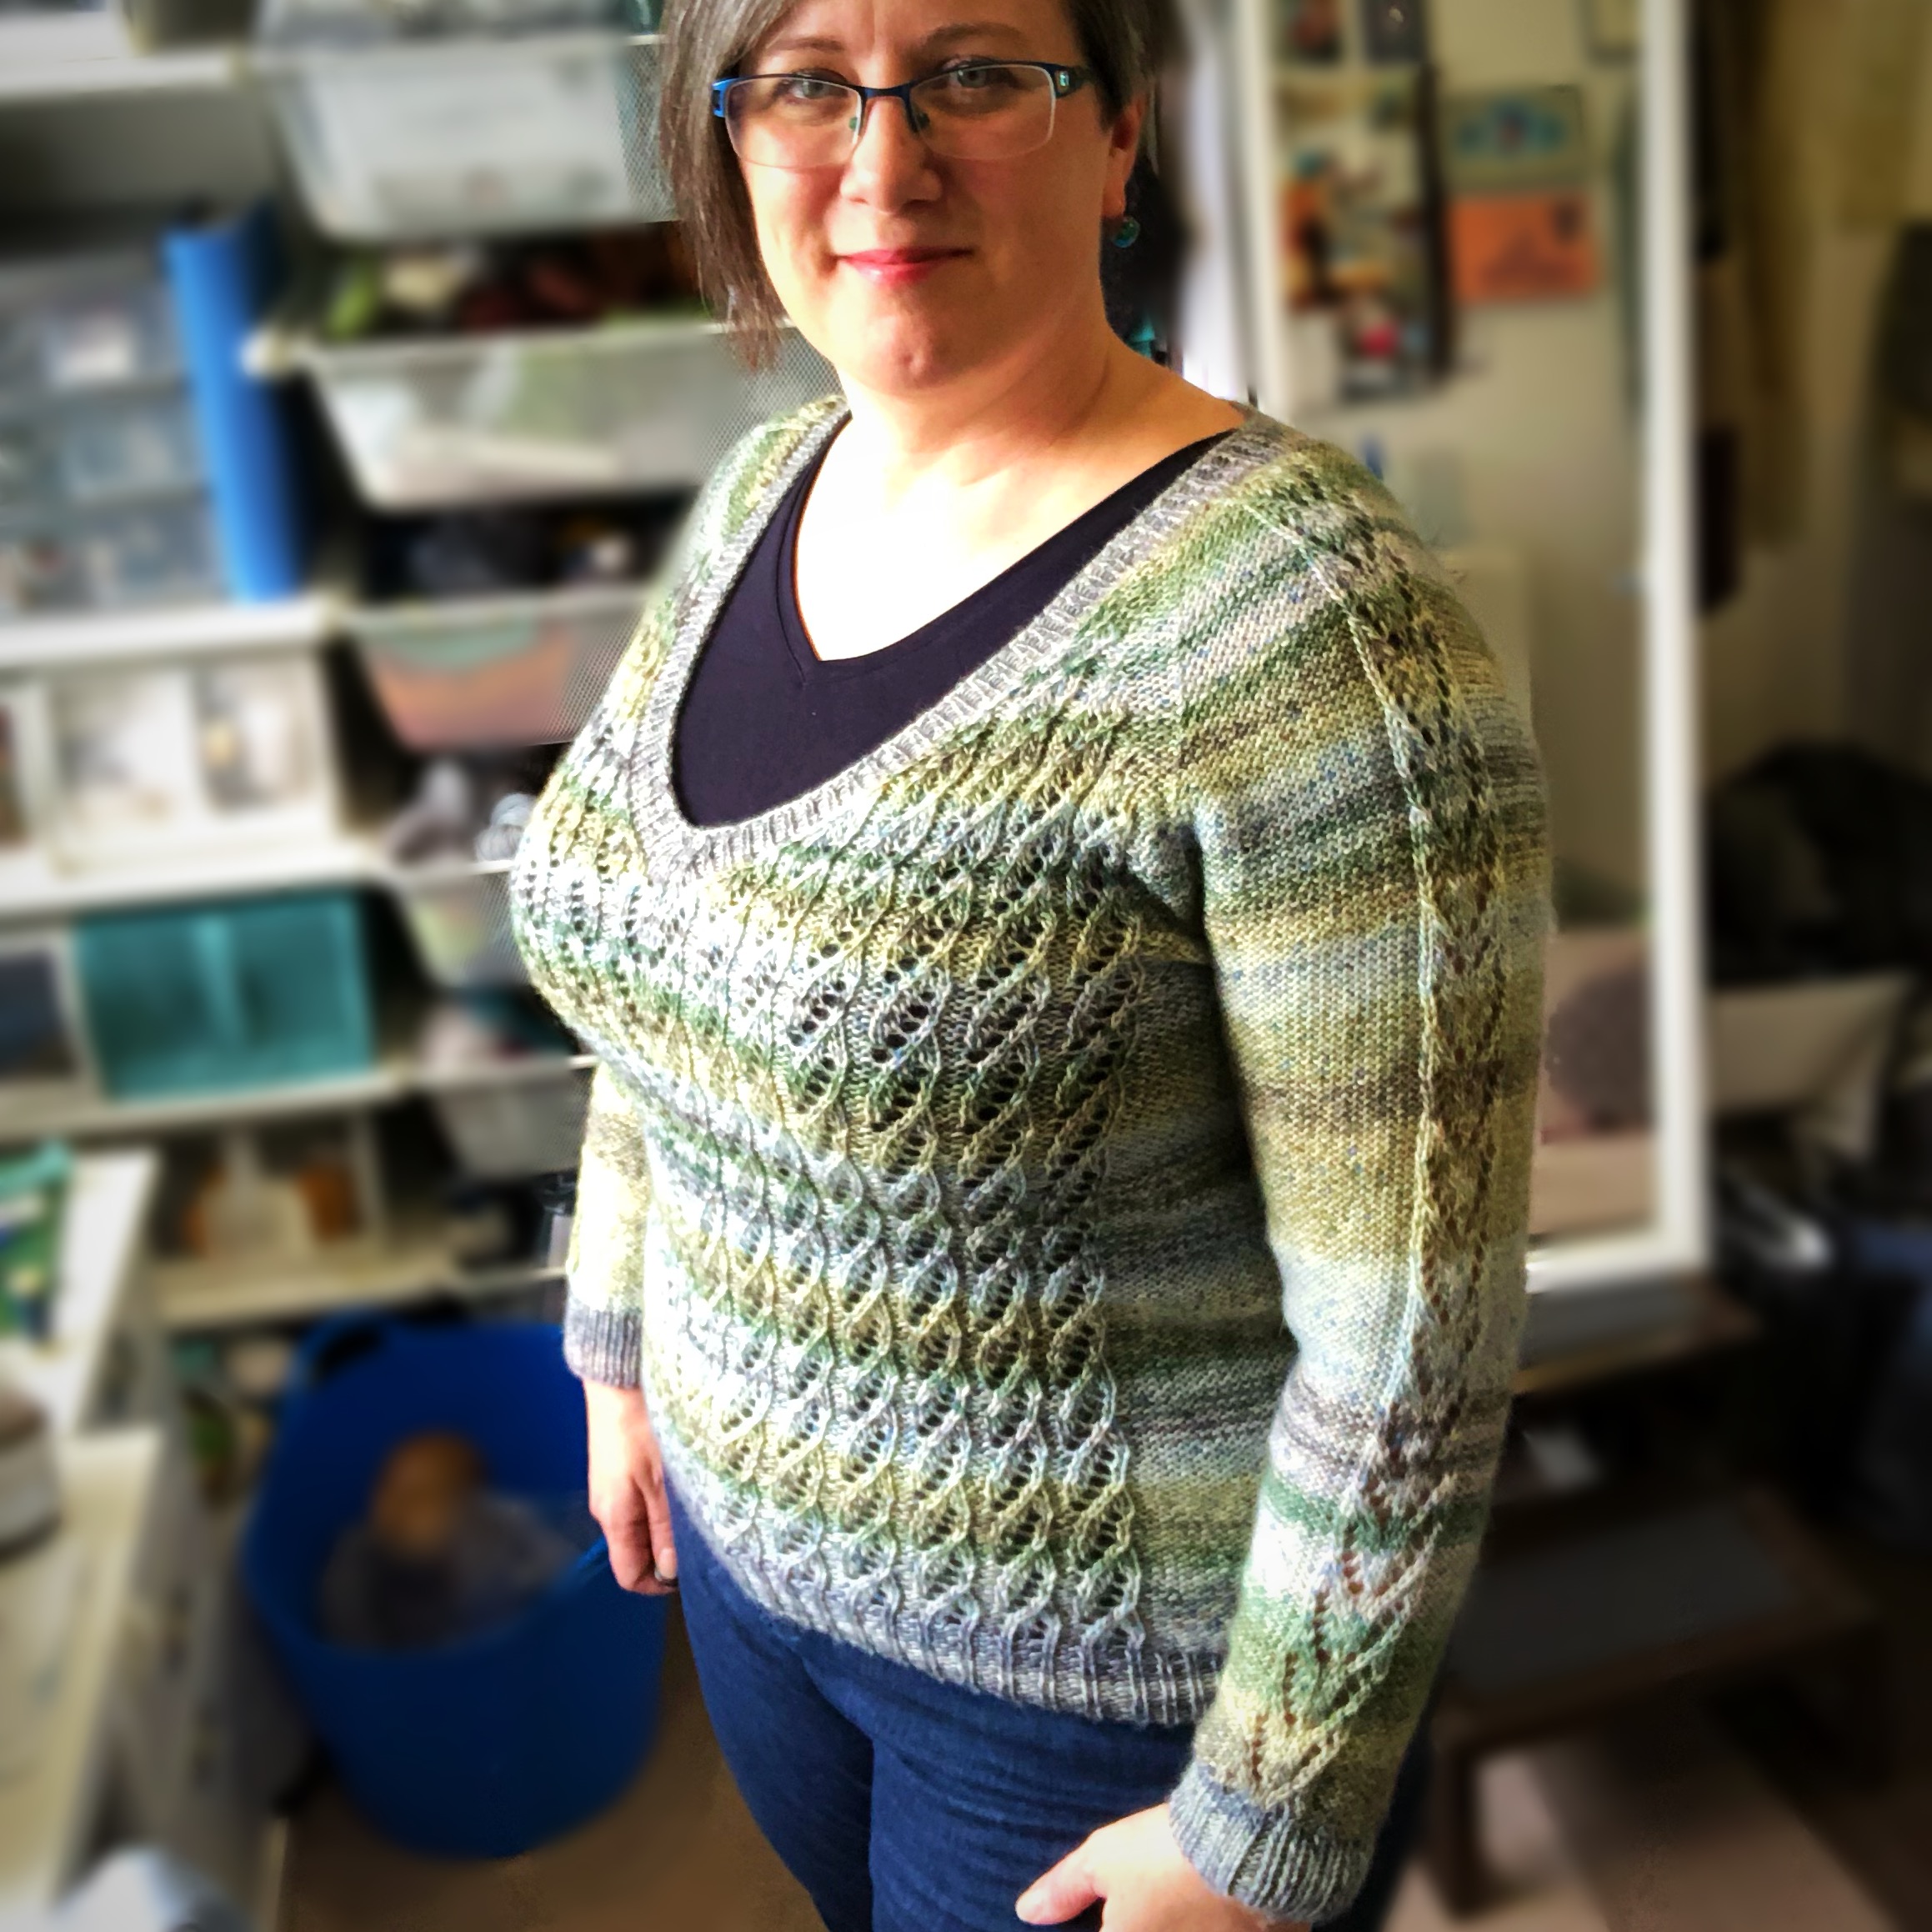
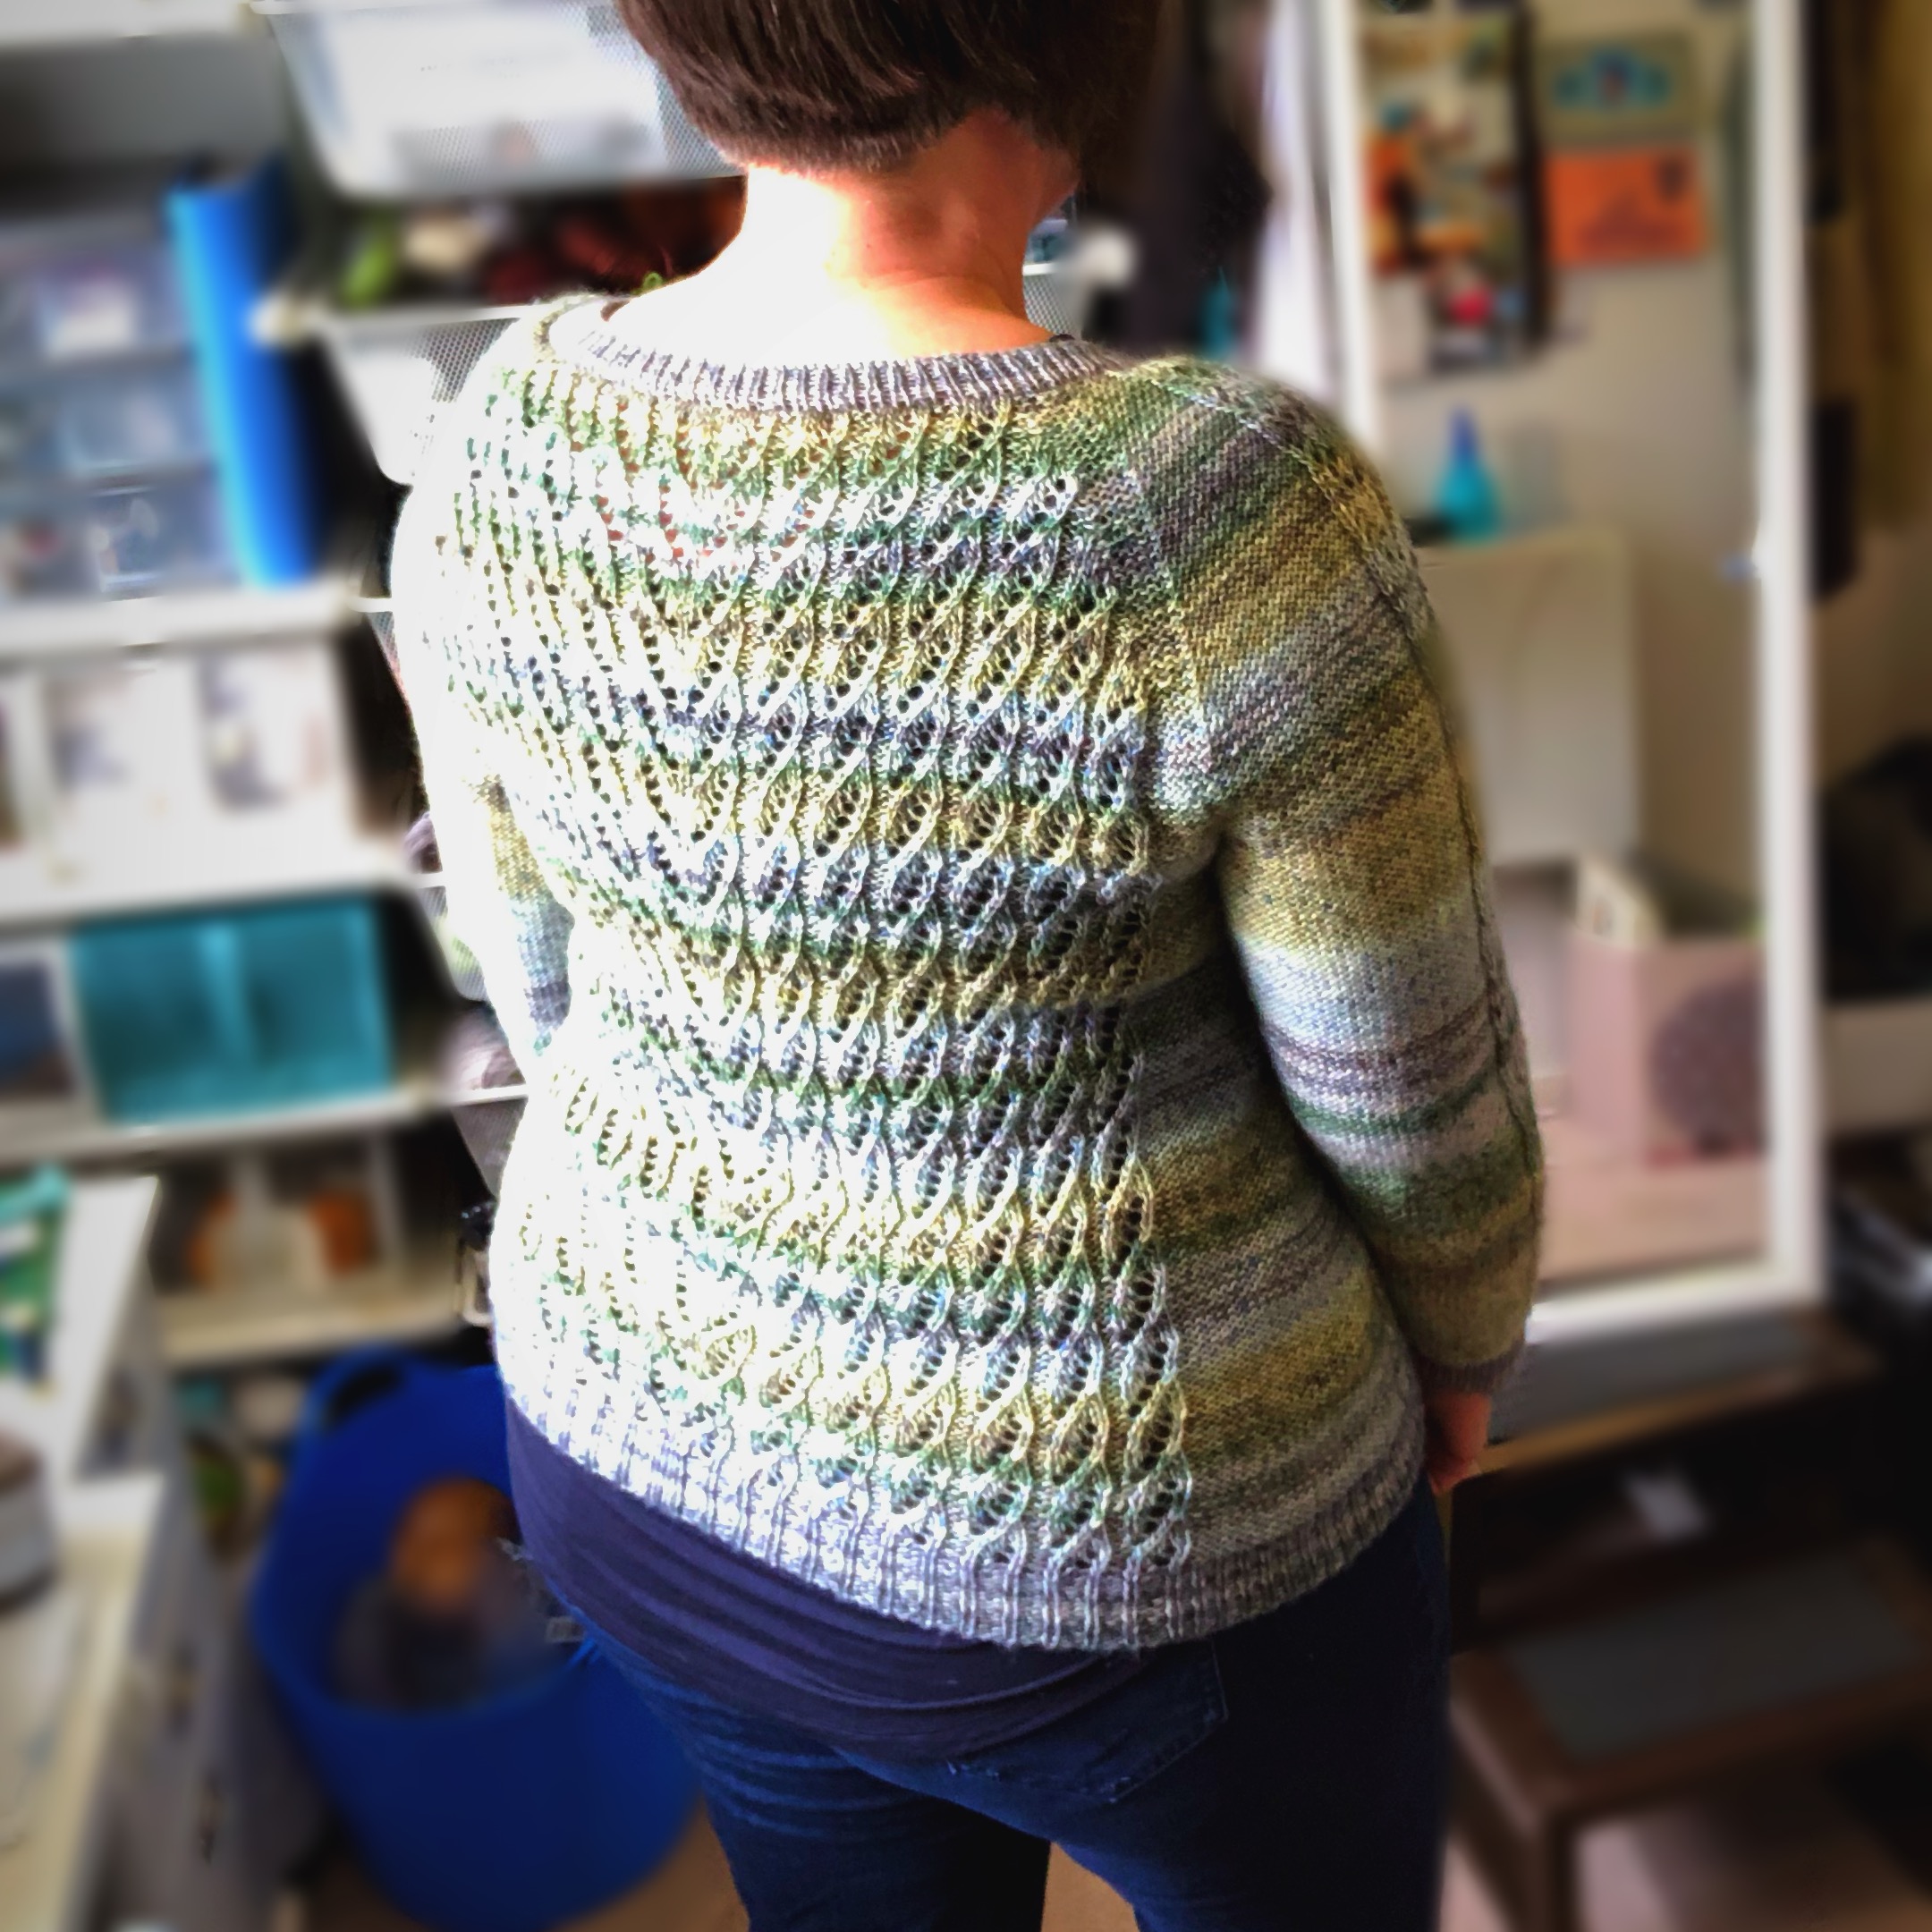
Pretty sweet, eh? I’m super duper happy with it. See those not-lace areas on the sleeve and under the arms? That’s aaaaalllll reverse stocking stitch in the round, which means….remember?….all purling. Every. Row.
I watched people on the Ravelry test knit thread weepmoanandcomplain and come up with all manner of creative ways to avoid having to do the purling – including knitting the whole thing inside out, which would mean working the lace pattern only from the wrong side. MADNESS! As a combination knitter, I was completely unfazed. All purling all the time? Let me at it! But I get it. Before I made the switch from standard Continental, I wouldn’t touch patterns with evil reverse stocking stitch with an eleventy-million foot pole.
Interested yet? Yeah, I thought so. Here’s the down-low on combination knitting.
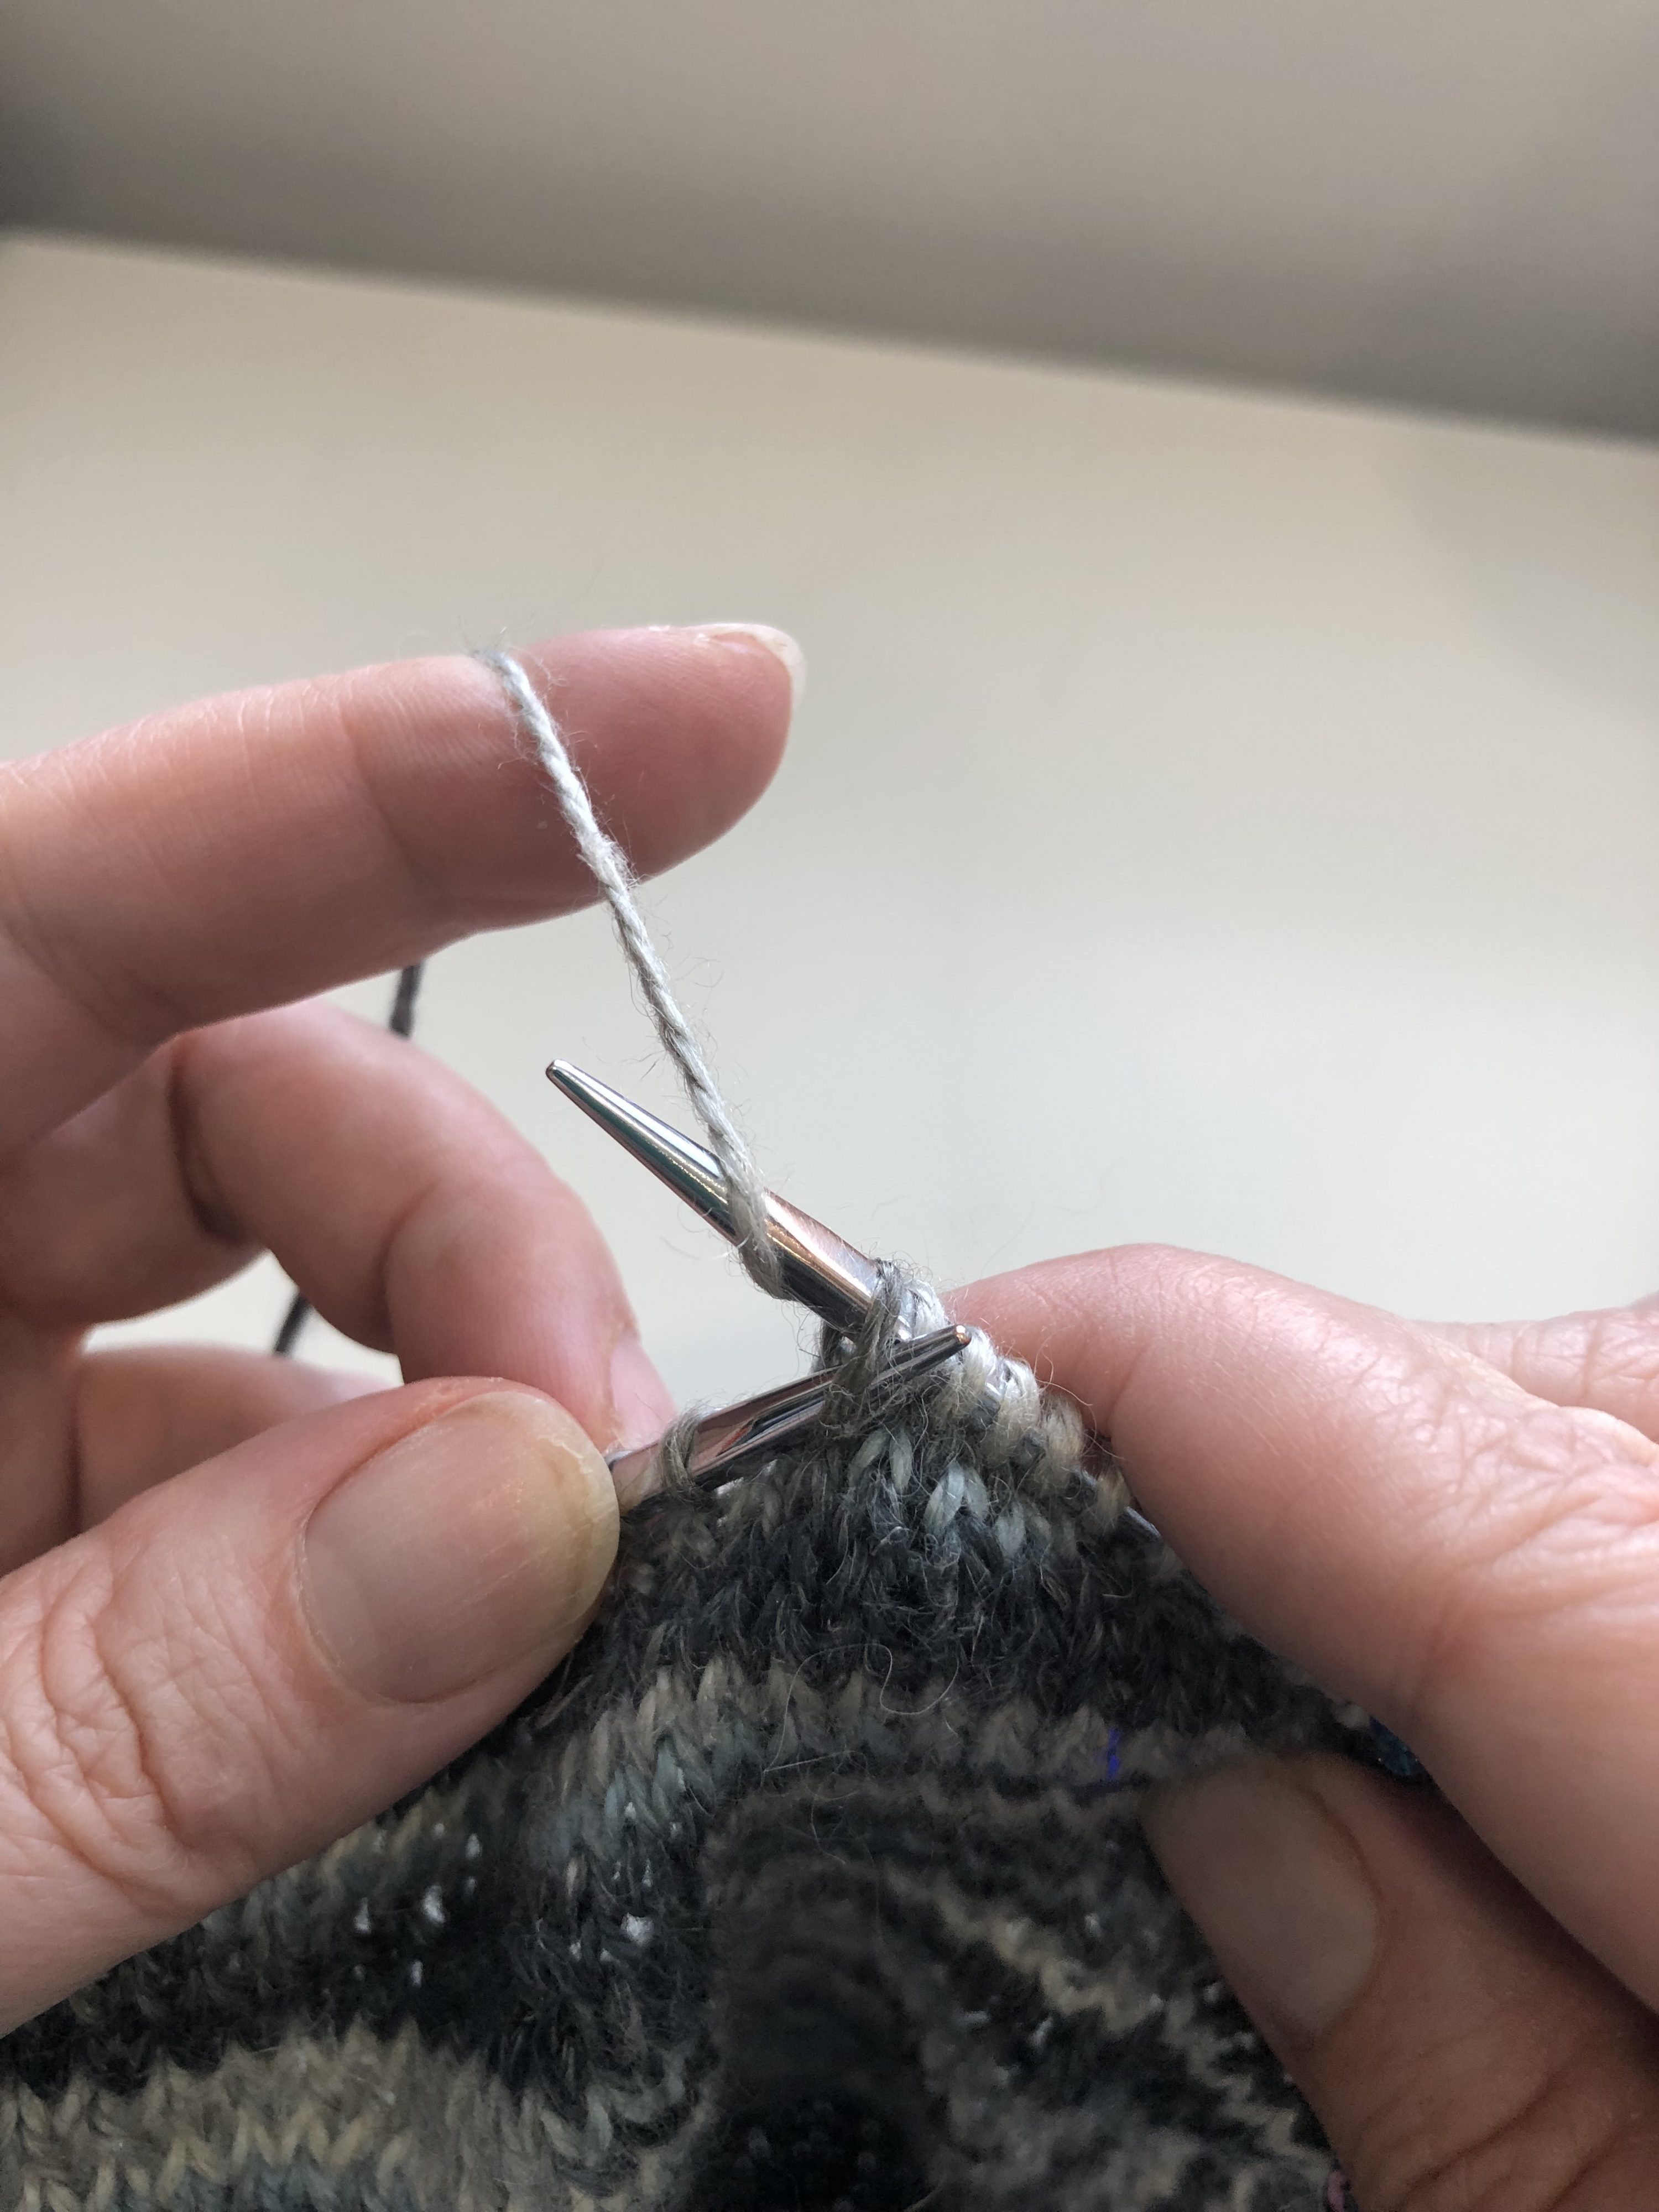
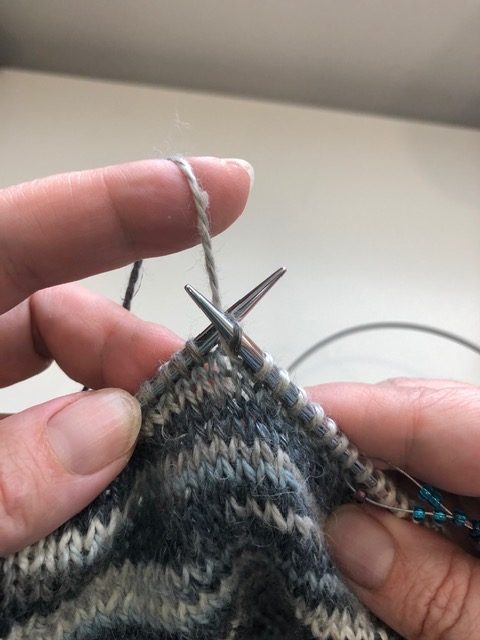
First: Pickers (Continental knitters) carry the yarn in the left hand and “pick” the yarn from the left index finger to wrap the needle, as so:
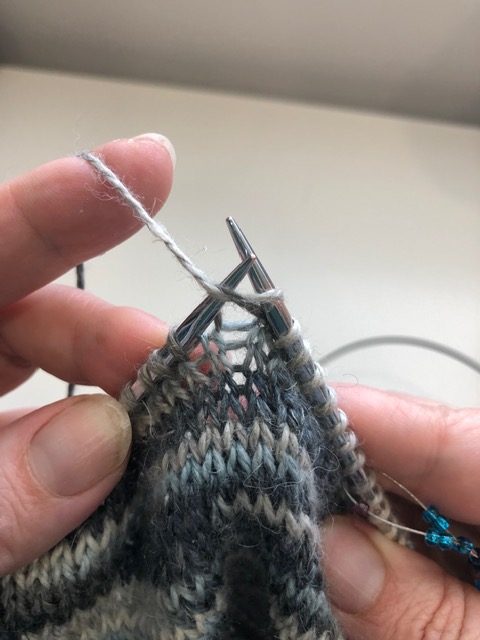
And here is what a standard purl wrap in Continental looks like:
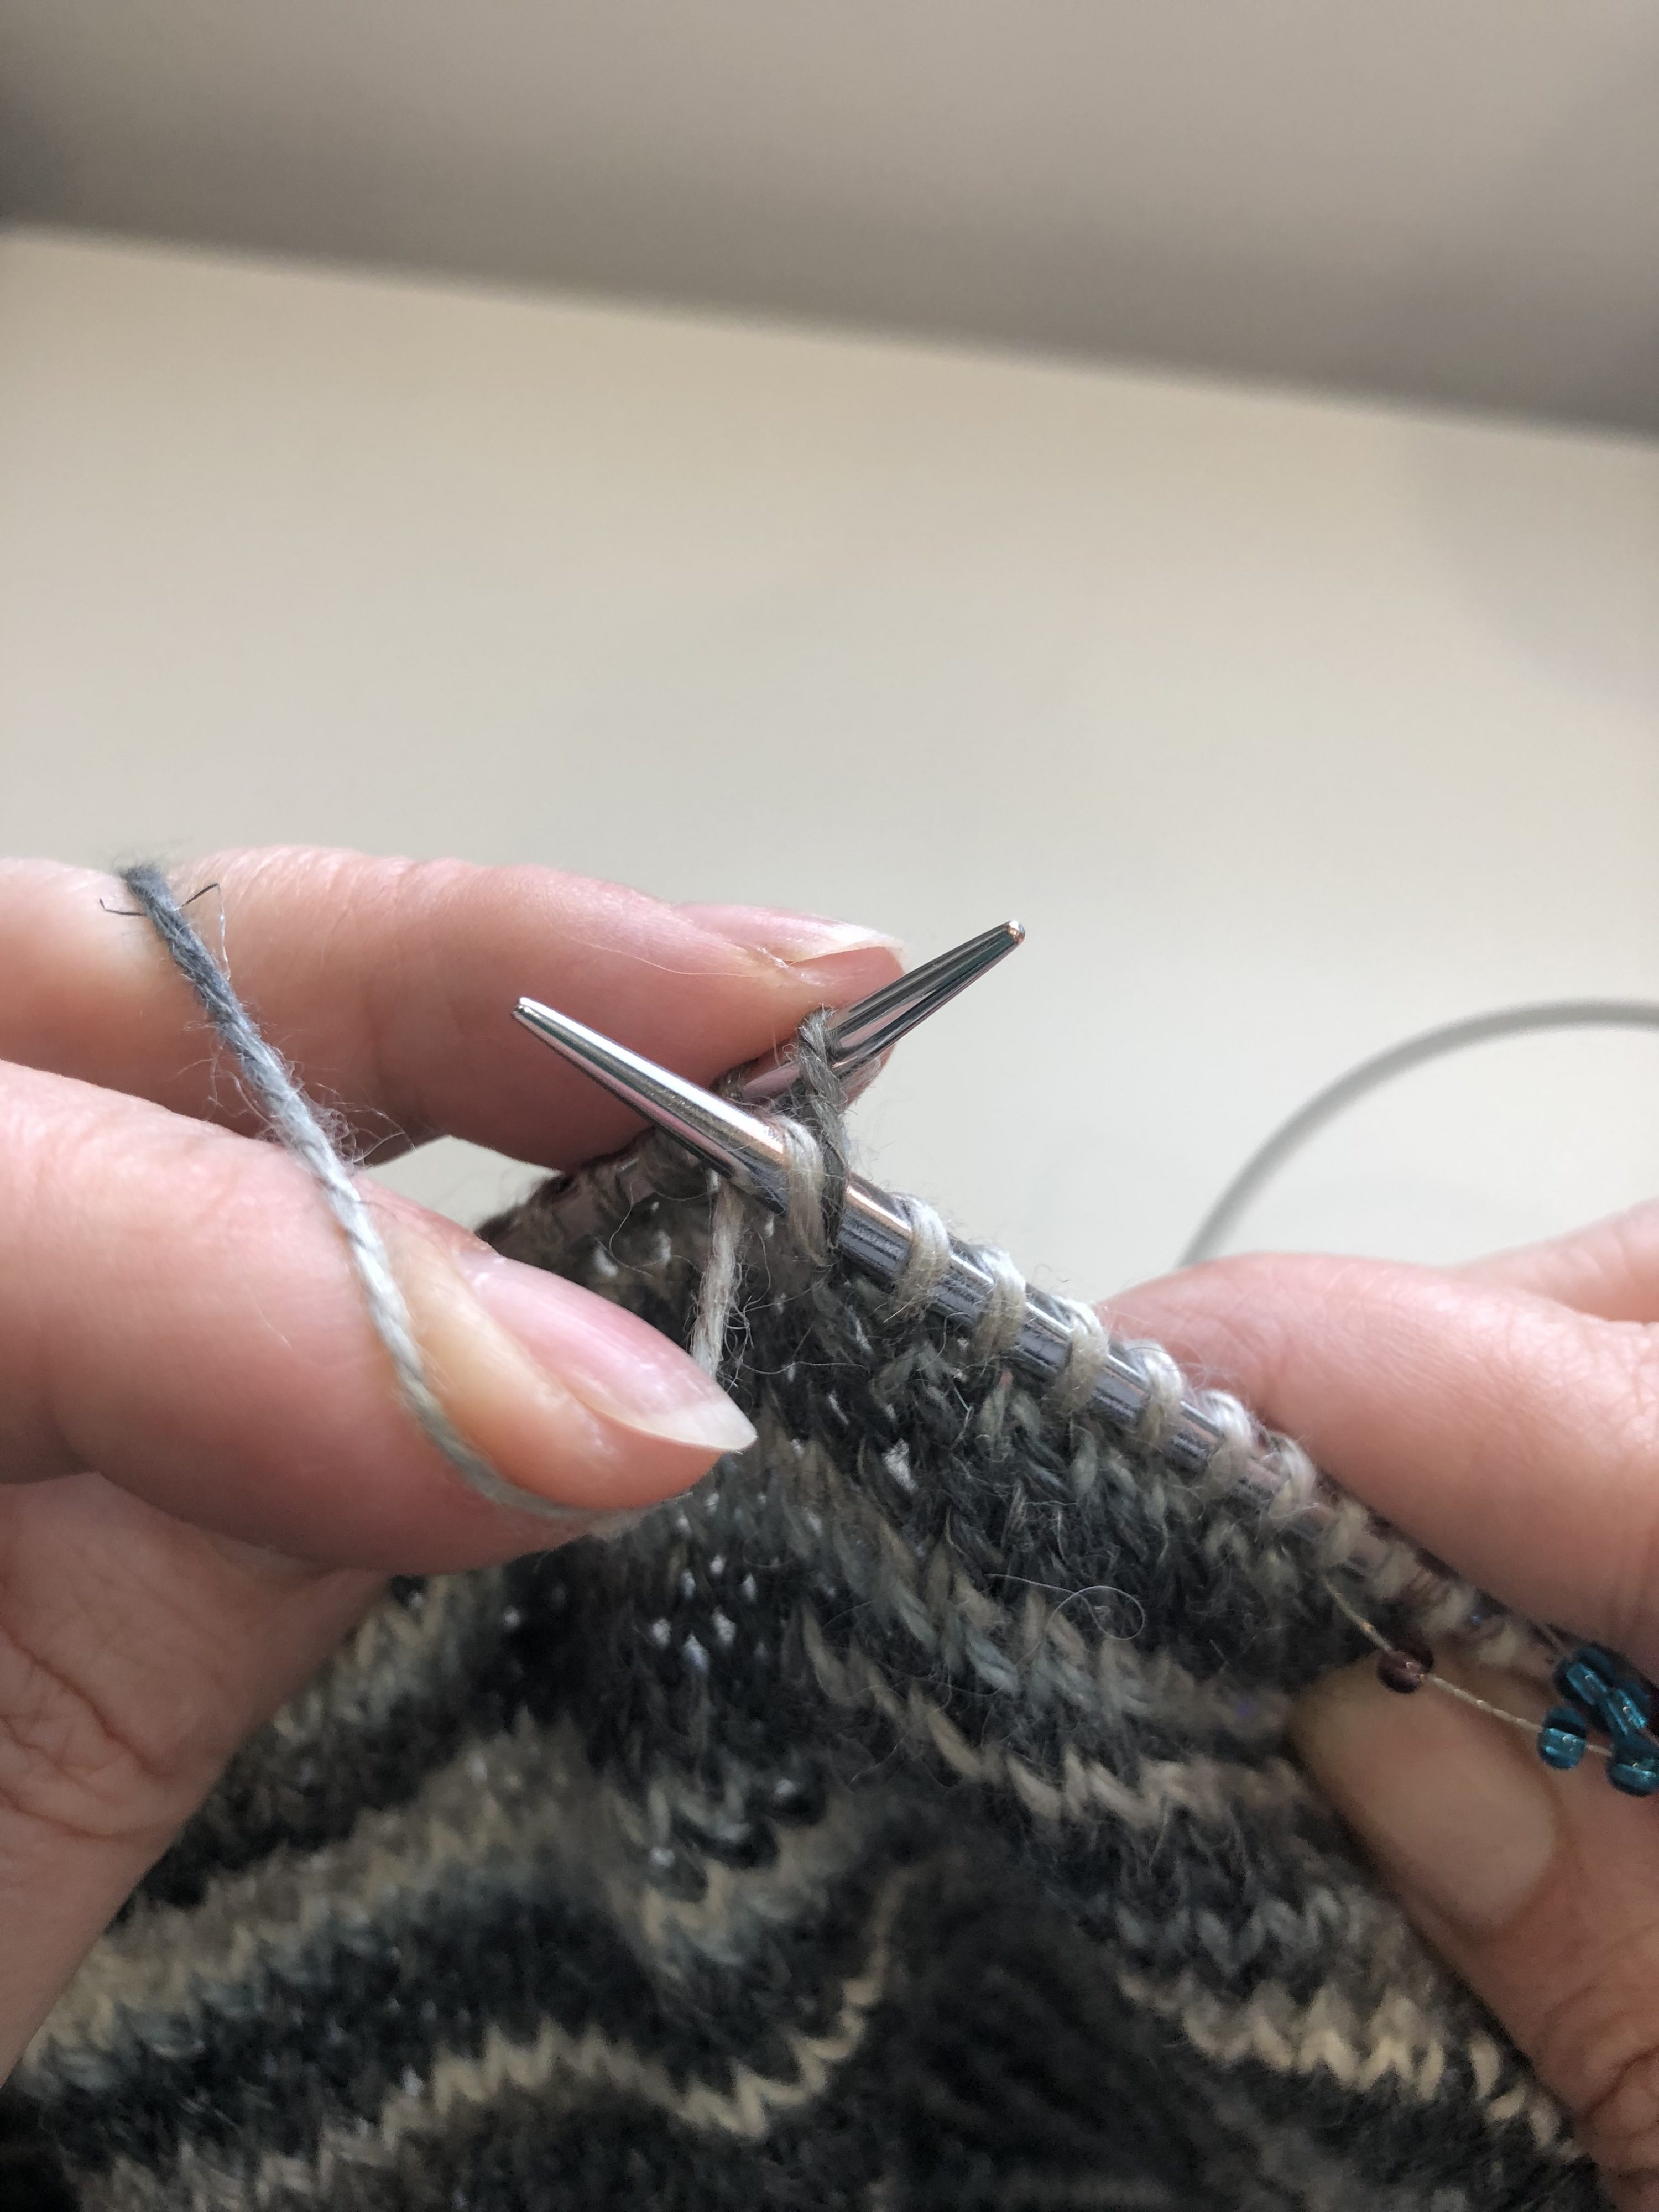
That downward finger motion is a real drag, both literally and figuratively, but that’s how one must wrap a purl stitch to seat the leading leg properly on the next row (more about that in a minute).
Here’s what a combination purl stitch looks like. It’s the same kind of picking motion as the knit stitch. The only “catch” to this method is that on the next row, the stitch ends up seated on the needle with the leading leg to the back. What this means is that on the following row, one needs to knit into the back of the stitch, instead of the front, to avoid twisting it.
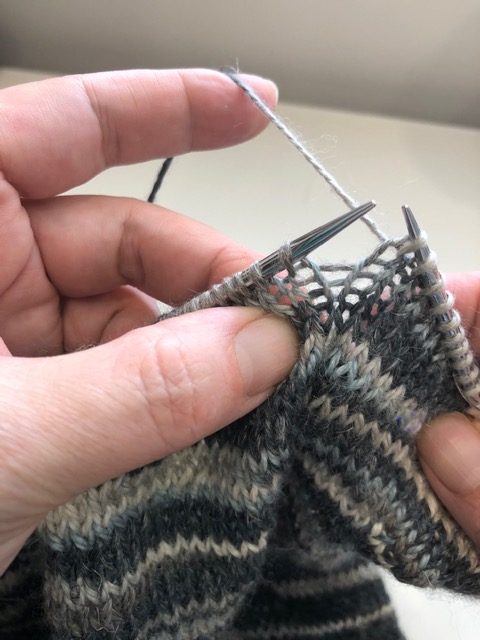
Yes, there’s always a catch, but in this case, I think it’s a minor one. All you need to be aware of is that your stitches will be seated differently on the next row after a combination purl wrap. Once you understand how to work that stitch on the next round, it’s a piece of cake.
Another bonus of combination knitting is that because you are making the same type of wrap for both knit and purl stitches, you are using the same amount of yarn in each wrap, which results in equal size stitches in your knit rows and purl rows – NO MORE ROWING OUT! No, this is no joke. If you avoid stocking stitch like it’s on fire because you can’t obtain those beautiful, even rows you see in magazines, this is your answer. I used to row out like it was an event at the Olympics. Now I fear not showing off the “wrong” side of my stocking stitch. All purling is a breeze.
I know it’s a royal pain in the butt to change up your knitting technique. Having done it a few times myself, I feel your anxiety. However, I cannot stress enough, after 35 years of knitting, this knitting style has changed everything for me.
Think about it. Try it. Breathe through the pain.
You can thank me later.
Knit well,
Knicoleknits
Hello, it is beautiful, but my question is how do you tink combination knitting?
Thank you!
Terri
Hello, could you please do a tutorial on purl decreases?
Haha. I started using this technique years ago to releive the pain in my right thumb. Since knitters are so brilliant, I knew it already had a name. I imagined that it was Russian knitting! Combination continental sounds like a cocktail or a dance but, now I know what it is called. Thank you.
Hello, thank you for your post and video on combination knitting, it is extremely insightful!
I am a fairly inexperienced knitter, but I somehow (accidentally and unknowingly!) was combination knitting from the start. Now that I gained the knowledge (of my numerous mistakes which I did because I was not adjusting the rest of my knitting technique to this) I set out on a quest to learn and understand how should I adjust to it, but it is still pretty complicated for me and I have so many questions.
Is there a chance that you would do a more in-depth video and article on this?
I find it to be especially hard to wrap my head around knitting in the round vs flat, ribbing (flat I do get, but in the round? seems like stitches would twist at least on the initial row) and various increases/decreases.
Anyway, thank you for your work (and especially big thanks for your row counting method video, it saved me so many headaches)!
Hello, Tessa!
Thank you so much for your comment. Yes, I will be doing an in-depth follow up to the combination knitting video (you’re not the first to ask!). It seems the flat vs. in-the-round trips up a lot of folks, so I’ll be happy to shed some light on that.
I’m so glad the running markers video helped you! It’s certainly made a huge difference in my own knitting.
Cheers, Nicole